
I still had some leftover malanga, and I had it in my head to try and make a variation of pierogi that used mashed malanga instead of potatoes. There are three separate components that are part of this recipe: caramelized onions, mashed malanga, and the dough and pierogi. The caramelized onions and mashed malanga are good independent of this dish, but work well together for this. I am going to share how I put this together.
I will start with the caramelized onions, then move on to the malanga, and then move on to the pierogi. If timed well, the dough can be the first thing made, then the onions and mashed vegetable, and then the pierogi. There is a good flow when putting it together, but I’ll focus on the separate recipes.
CARAMELIZED ONIONS
1 medium size yellow onion, chopped
1 Tablespoon butter
1 Tablespoon olive oil
Pinch of salt (optional)
Pinch of sugar (optional)
1/4 cup of water (optional)
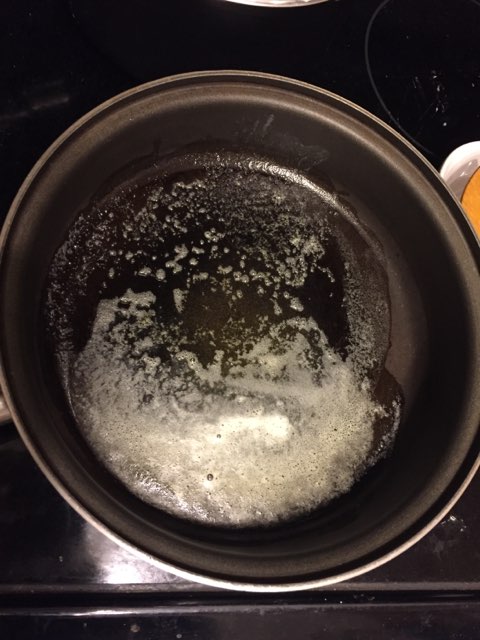
Place the butter and oil in a large saucepan over medium high heat. Once the butter has melted and the mixture has some foamy bubbling, add the chopped onion and turn the heat down to medium.

Make sure the onion is layered evenly on the bottom of the pan. Stir every 2-3 minutes. The entire process should take between 30-50 minutes.

When the onion starts to get a little brown, add the dash of salt if desired. Continue to stir every 2-3 minutes.

Once the onions have gotten a deeper brown, you can add 1/8 cup of water and a dash of sugar if desired and turn heat to medium low. Continue to stir every 2-3 minutes. The stirring should allow for enough time for the onion to brown without burning or sticking to the bottom of the pan.

Once the onions have some really nice caramelization going, add a little more water to prevent burning. After another 2-3 minutes, the onions should be done and ready to be removed from the stove.
MASHED MALANGA
1 1/2 pounds malanga, chopped
1/4 cup softened butter
1/4 – 1/2 cup milk
1 teaspoon garlic powder (optional)
1 teaspoon onion powder (optional)
1/8 teaspoon pepper (optional)
2 teaspoons paprika (optional)
1 cup shredded cheese (optional)
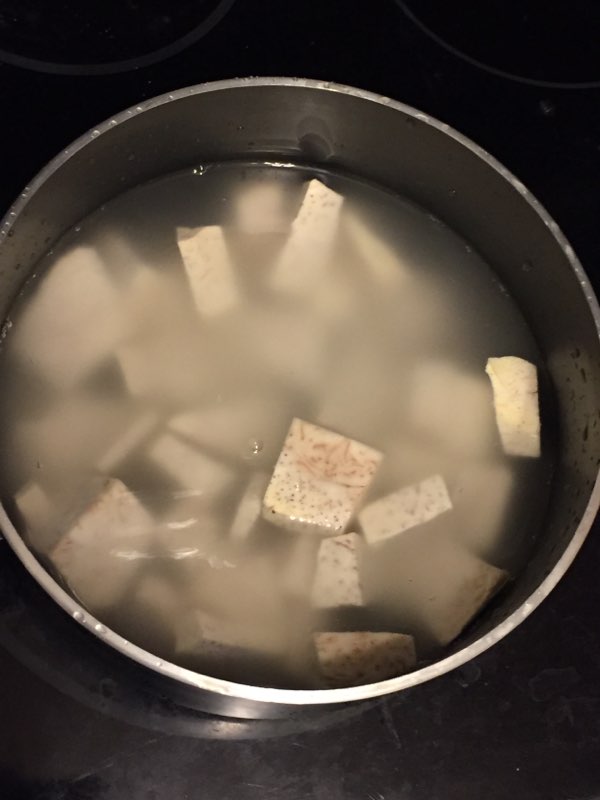
Malanga is a very hard root, so be very careful when cutting. Remove the outer skin and cut the malanga into pieces. Rinse well. Put into a pot and fill water so that it is about 1 inch above pieces. Bring to a boil and let it continue to boil for about 15 minutes. When the largest pieces of malanga fall off a fork with ease, the malanga should be ready (should be similar to boiling potatoes). Drain water and put malanga back in pan.
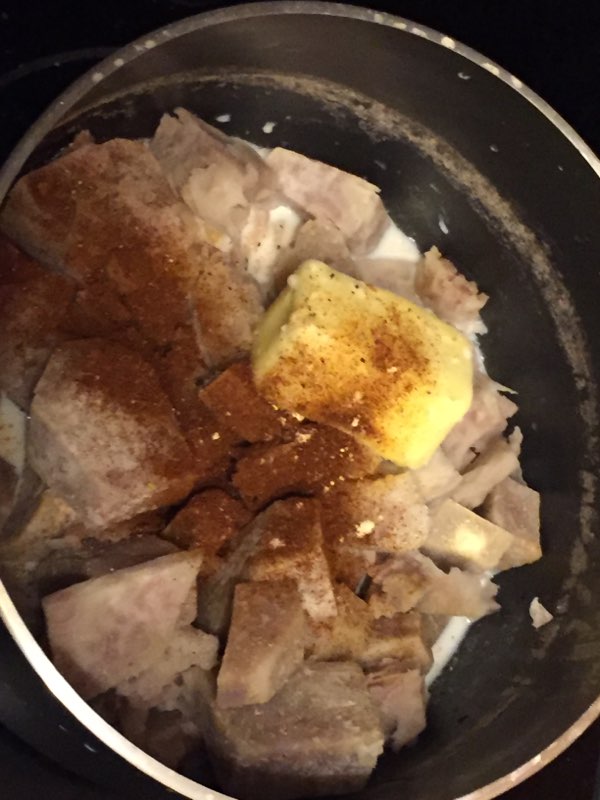
Add in butter, milk and any seasonings you would like and then mash until it gets to the consistency of mashed potatoes.

For the next step, I added in about 2/3 of the caramelized onions (leaving the rest for something else, possibly a patty melt). I let the mixture get to room temperature and then added in the cheese. I did not want the cheese to melt yet, but if you would prefer to have melted cheese, then you should do it. I preferred to have the cheese intact because I didn’t want to have to deal with the melty cheese when trying to scoop it into the dough (coming later). If you didn’t want to make pierogis, this would still be an outstanding dish as is. The caramelized onions really take this to another level. I heated some up later and my opinion is that it was absolutely delicious. If you are going to be making the pierogi, then this mixture should be at room temperature when the dough is ready.
PIEROGI DOUGH
2 cups flour
1/2 teaspoon salt
1 large egg
1/2 cup sour cream
1/4 cup softened butter

Mix together the flour and salt. Add the egg and mix together. It will be mostly flour, with a few lumps. Add in the sour cream and softened butter. I started this with a fork, to make sure the butter gets properly incorporated. Once the butter was broken down and blended in, I used my hands. Work the dough with your hands until it is able to hold together in a ball. If the dough is too sticky, add a little flour. If it’s too dry, add a little sour cream.

Once the dough is able to be formed into a ball, cover it in plastic wrap and place in the refrigerator. This should be refrigerated for no less than 30 minutes, but can be kept for up to 2 days.
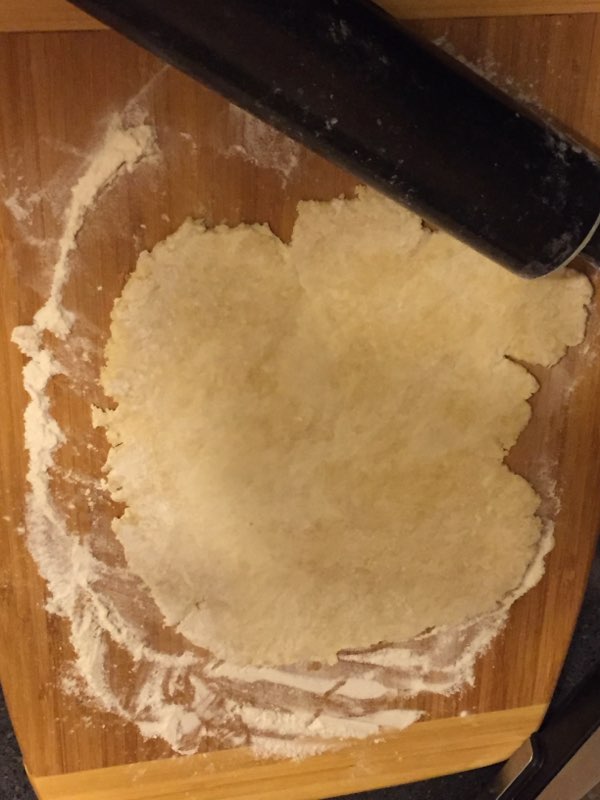
Once you are ready to make the pierogis, remove the dough from the refrigerator and roll out 1/2 of the dough until it’s a little more than 1/8 inch thick.
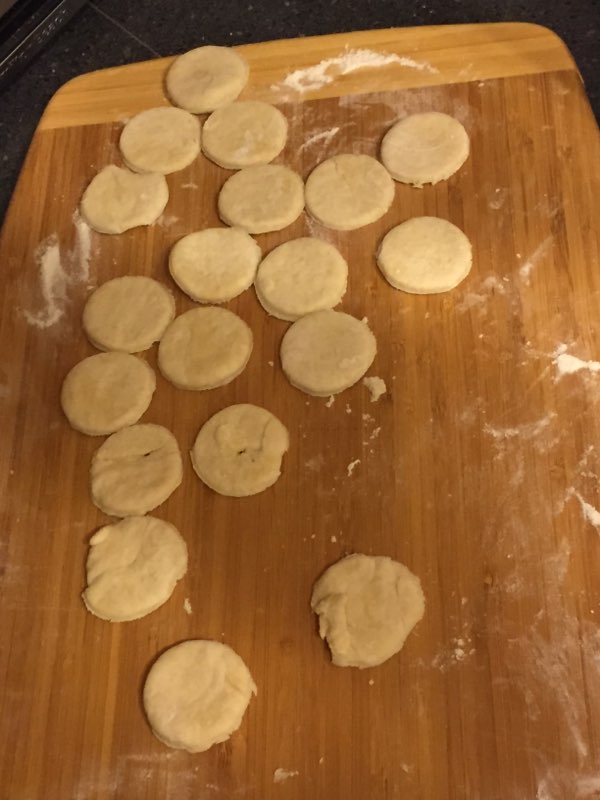
If you want, you can roll the dough to be 1/8 inch thick and then use a two inch round cutter. I rolled the dough until it was slightly thicker than 1/8 inch, and then used a shot glass to cut the dough.

I then took each shell and rolled them a little more to get them flat.

Next, add about 1/2 teaspoon of the mashed malanga mixture into the center of the shell.

Fold the shell over and pinch the edges together.
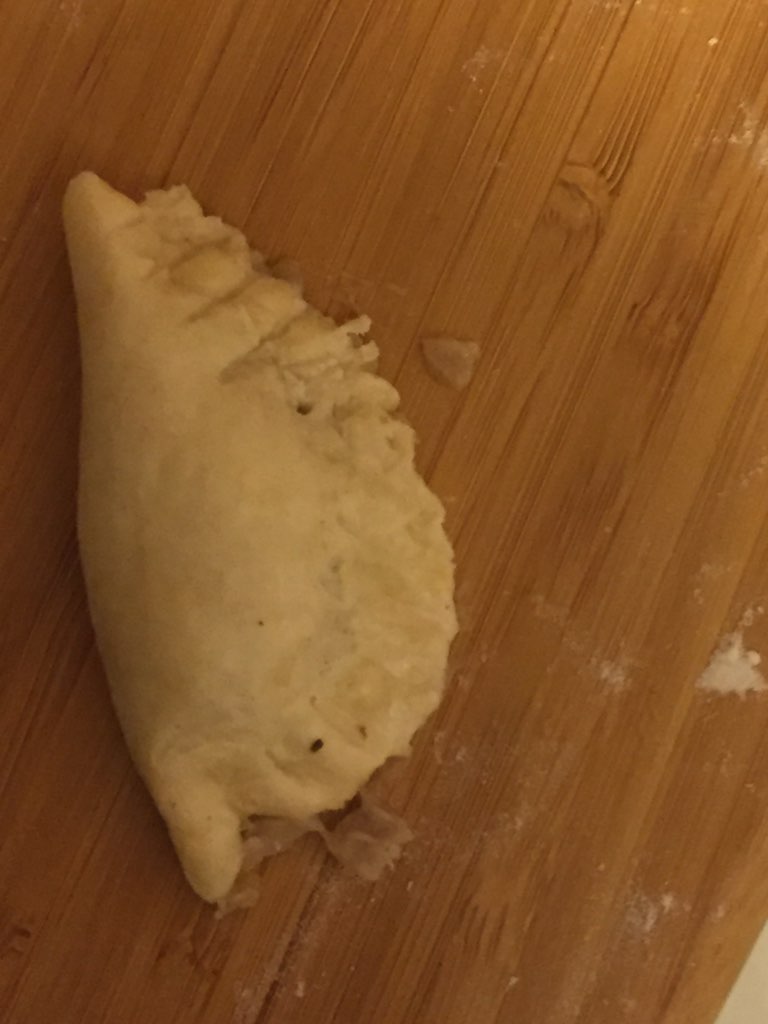
Use a fork to seal it again. If a little bit of the filling sticks out, that’s okay.

Once you have the first half of dough complete, you can start working on the second half. This should yield 3 – 4 dozen pierogi.

Boil a large pot of water and add in salt. Place the pierogi in the boiling water. Make sure there is enough space that they don’t overlap (otherwise, they might stick together).

These should take 5-10 minutes to cook. They will float to the top when they are ready. I took them out as soon as they started to do a little dance.

They are now ready to enjoy. I had sour cream as a side for my first batch and butter for my second. The flavor is really good, so I prefer that it is not masked with anything overpowering, but that is my personal choice. The flavors all came together really well in this batch. It tasted a lot better than what I was expecting, so it was a nice surprise.
If you don’t want to cook the pierogi all at once, you can refrigerate the uncooked pierogi for another day, or you can freeze for a few weeks and then take out and boil when desired. If you didn’t use all the dough, you can always set it aside for another day and make something else (maybe cut them up and cook them in a nice broth based soup during the cold Fall and Winter months).
These can be filled with different things. I chose my ingredients because they fit the flavor profile I was craving. Some might prefer sauerkraut. Some might want the onions to be used as a topping instead of as part of the filling. There are many options out there. Just choose what works best for you.
I hope you enjoyed this recipe. Any feedback or thoughts are happily appreciated.
Stay Positive!
