Yesterday, I decided to get a little creative and make myself a cheese spread. I was checking out quite a few recipes, and the main ingredients that I saw over and over again were mayonnaise and cream cheese. Good options, to be sure, but I wanted to do things slightly different, and I did.
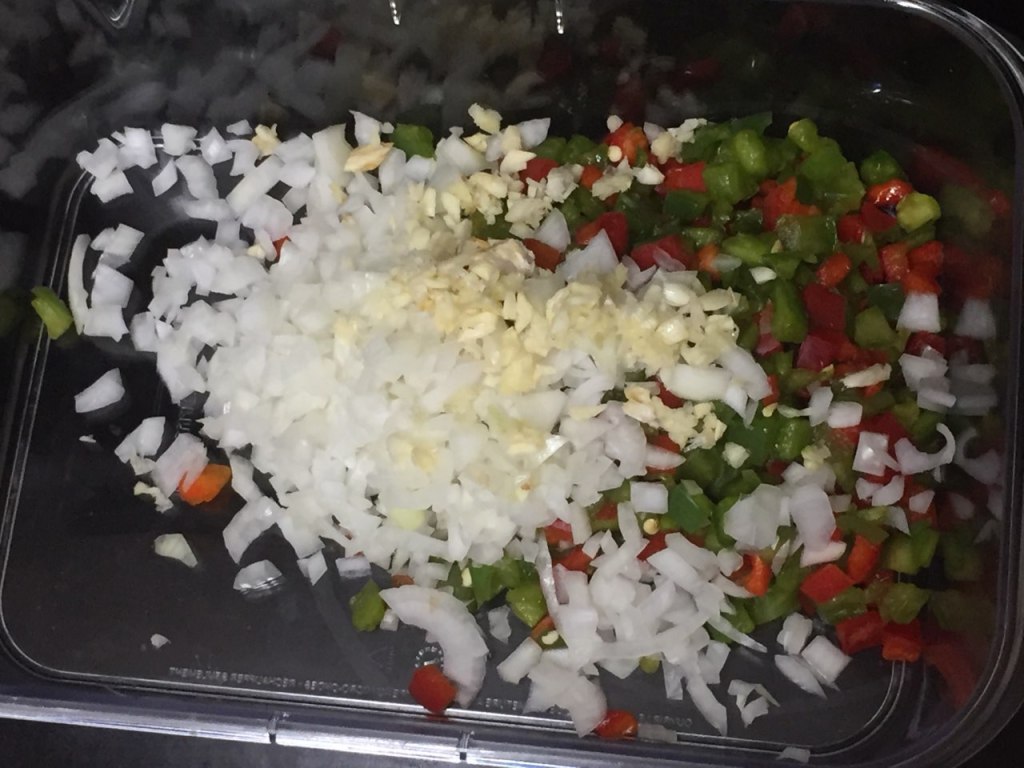
I started by finely chopping one vidalia onion, about 1/3 of a red bell pepper, 1/3 of a green bell pepper, and four cloves of garlic.
Next, I added in 1/2 teaspoon of garlic powder, 1/2 teaspoon of onion powder, and 1/2 teaspoon of black pepper. I mixed those dry ingredients in, and then added the wet ingredients. 1 teaspoon of Worcestershire sauce, 1 teaspoon of hot sauce, 1/2 cup of sour cream (I used reduced fat), and 1 cup of plain yogurt (I used non-fat). If I left it at that, it would have made for a good dip, but I wanted a little something more.
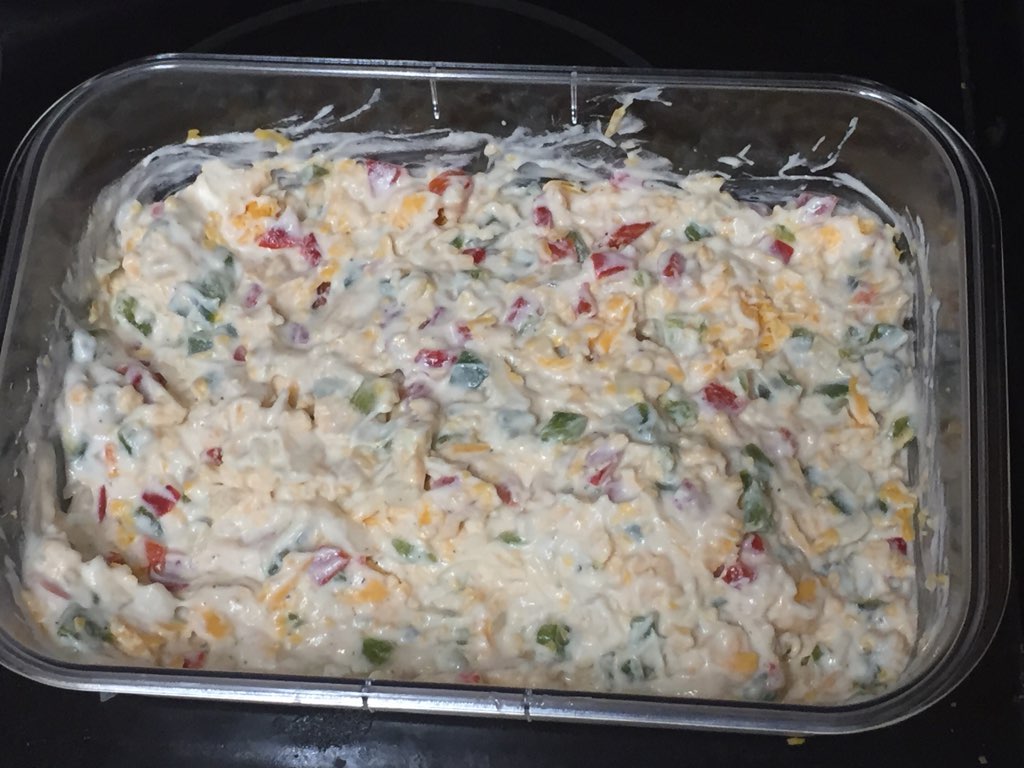
I added in 8 ounces of shredded cheese. I used a block of extra sharp cheddar. After that all got mixed in together, I put it in the refrigerator for a couple of hours.
At first, I had it as a dip with some pita chips. The flavors were nice, and there was a bit of a bite to it, which wasn’t overbearing. This was a tasty treat, and it worked pretty well.
Later on, I decided to amp things up and make a grilled cheese sandwich with the spread. Nothing else added to it, other than some butter on the outside of the bread to give it that nice crisp texture and buttery flavor. This worked well as a hot sandwich, but the bread cooked too quickly. I’ll have to work on ways to get the inside a bit hotter and the cheese slightly melty. The filling was hot, but I was hoping for a bit more. Maybe next time I will just leave the mixture out for a little to get to room temperature, instead of taking it directly from the refrigerator.
Overall, I was happy with the mixture. I think I would scale back on the peppers a bit in the future, or increase the amount of cheese in there. There is a good balance of flavor right now, but I would prefer that the cheese play a more prominent role. No matter what, this was a great way to get the weekend off to a positive start.
I am a fan of Potato salads and macaroni salads. I like trying different styles as well, since each adds their own unique style and flavors. A potato salad that I tend to enjoy every now and again is a German potato salad. I had some potatoes, and I thought I should put them to use.
I started by boiling four russet potatoes. I boiled them until they were ready and they easily slid off of a fork when checking for doneness. I set them aside and saved the water (to be used later).
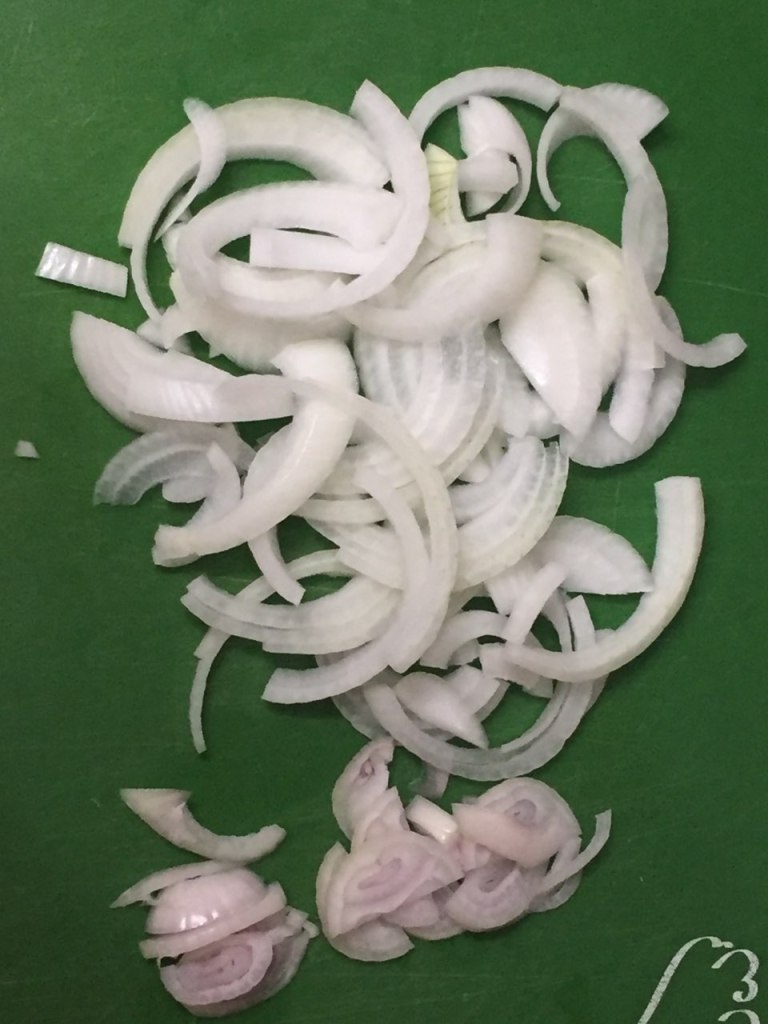
I sliced up one half onion and one shallot into thin strips. I cut them up this way because this is how I am used to enjoying them in a German potato salad. I used the same pot that I boiled the potatoes in, and heated up 1 tablespoon of vegetable oil (your choice of oil should be fine). I added the onions and shallots and let them cook for a few minutes, stirring frequently.
While the onions were cooking and the potatoes were slightly cooler, I sliced the potatoes and set them aside. I also put together a mixture of dry ingredients in a small bowl. These were: 1 1/2 teaspoons flour, 1 teaspoon sugar, 1/2 teaspoon celery salt, 1/8 teaspoon black pepper, and 1/4 teaspoon garlic powder.
I cooked the onions until they started to slightly brown.
Next, I added in the dry seasonings and stirred those all around to get the onions coated.
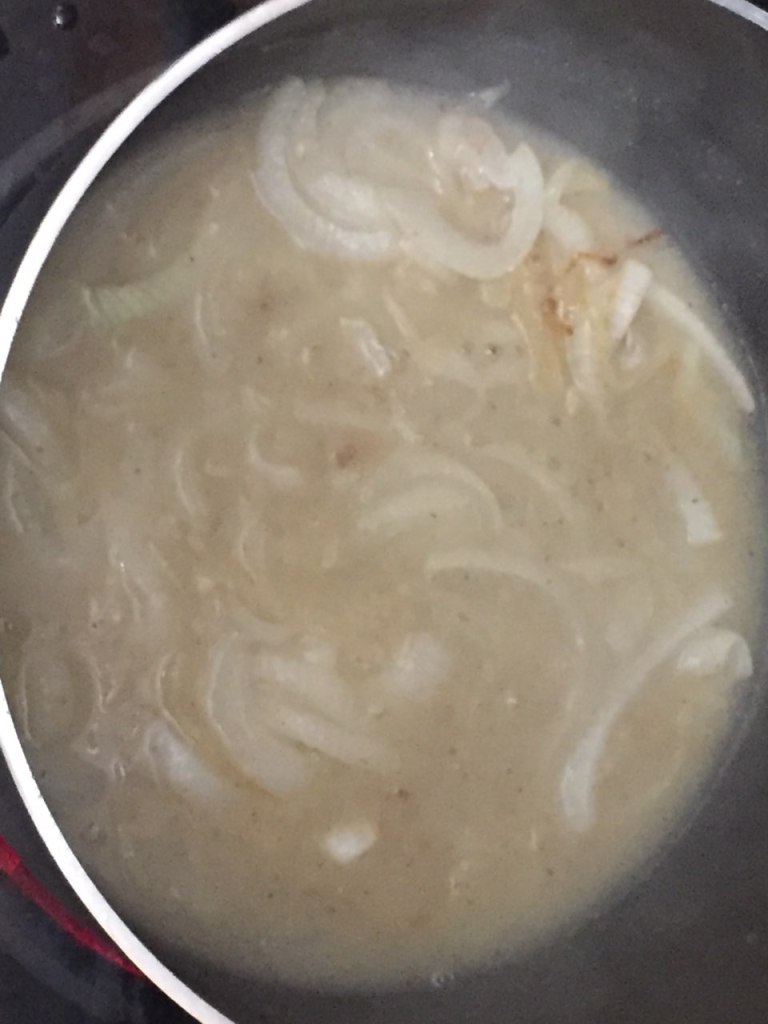
Next, I added in 1/2 cup of the leftover water (you can use fresh if you would prefer) and 2 tablespoons of white vinegar. I stirred it all together and continued to cook until it came to a slow boil. I then removed it from the heat, added in the sliced potatoes, and incorporated everything together.
The end result was a delicious, warm potato salad. The potatoes were cooked perfectly – they were not too hard to bite through and not so soft that they dissolved before you could pick them up. The onions had really nice flavor. They absorbed the seasonings and the juices well. The flavors and the textures of this dish surpassed my expectations. I know that my leftovers will be cold, but they will have had time to absorb the flavors, and I am looking forward to them.
This was a great way to start the weekend and I was happy to eat them (even the second and third helpings).
Today, I decided to make a hot onion spread/dip that is a variation on something my dad likes to make from time to time. I had planned on making this for the past week, and I was just waiting to get some additional ingredients on the weekend. The best thing that I was able to get was a loaf of bread from Big Belly Deli last night. I ate this as a dip today while it was hot, but it can be used as a spread as well (goes really well on sandwiches, burgers, etc.).
I started by chopping one medium onion and 2 shallots. You can dice them as thin or thick as you would prefer.
In a medium saucepan over medium-high heat, melt two tablespoons of butter. Add in the onions and shallots. Cook them until the onions just start to get translucent.
Next, add in 2 teaspoons of minced garlic and 1 teaspoon of chopped ginger. Continue to cook until the onions are completely translucent.
Stir in 1 teaspoon of lemon juice, 1/2 teaspoon of black pepper, 1/4 teaspoon of paprika and 1/8 teaspoon of cumin. Continue to cook for another minute or two.
Add in 3/4 cup of plain yogurt (I used non-fat) and 3/4 cup of sour cream (I used light). Reduce heat to medium and continue to stir until mixture starts bubbling.
Once the bubbles started forming, I turned the heat to low and then toasted up some bread that I sliced from the loaf I got courtesy of Big Belly Deli.
This was an enjoyable meal for me. The bread was the perfect flavor and the right amount of crispness from the toasting. It held the dip very well. The dip was not as good as when my dad makes it, but it was still very good. I think that I’ll add less lemon juice and more of the seasonings next time, but it was still really good. I also tried it with some multi-grain tortilla scoops, and those were really good as well. I look forward to eating this again as both a dip and as a spread with some other goodies. I might be making myself a burnt ends sandwich and topping it with this spread, which I think would be an excellent combination.
I definitely had a good Saturday and this was a way to stay positive and productive at home. Stay safe!
I made this soup yesterday. There are a few different components to it, and they all worked really well together.
INGREDIENTS
3 medium carrots
5 red potatoes
1/2 onion
8 cloves garlic
2 Tablespoons fresh ginger
2 Tablespoons fresh turmeric
2 Tablespoons Olive oil
2 Tablespoons Sesame oil
Ground Pepper
5 cups broth
2 1/2 cups water
OPTIONAL INGREDIENTS
2 pinches Citric acid
1 package udon noodles
PEANUT BUTTER SAUCE (Ingredients below)
1/3 cups creamy peanut butter
1 Tablespoon vinegar
1 Tablespoon Teriyaki sauce
1/2 Tablespoon hot sauce
I had some home made chicken broth on hand, but broth from a store will also work. It doesn’t have to be chicken broth, just a broth of your choosing.
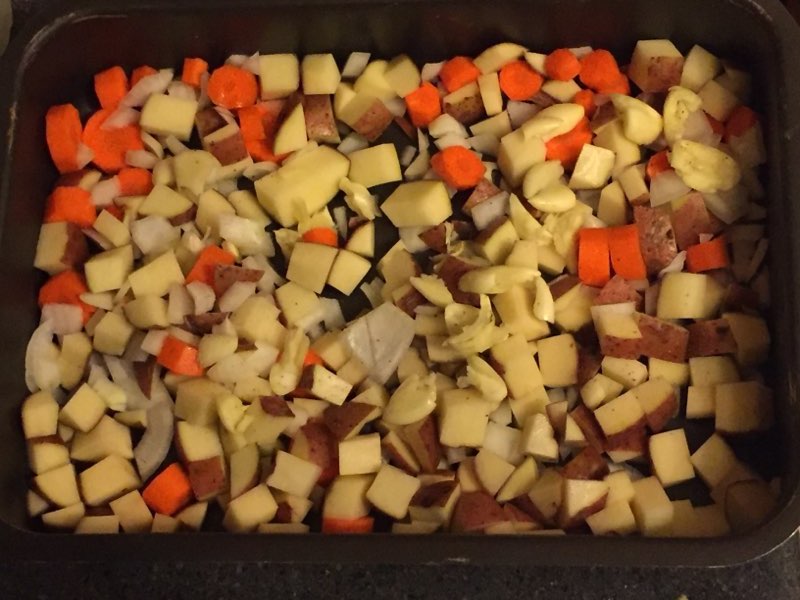
The first step is to preheat the oven to 400 degrees. I chopped up the carrots, potatoes, and onions. I also chopped the garlic. I smashed once to remove the skin, and then smashed again to have it broken down into large chunks. If you would prefer minced or chopped up, that will also work.
Coat the bottom of the roasting pan with olive oil. Add the carrots, potatoes, onions and garlic. Swish it around to get as many pieces coated as possible. Ground some pepper and swish it around again. Place in oven and bake for 15 minutes.
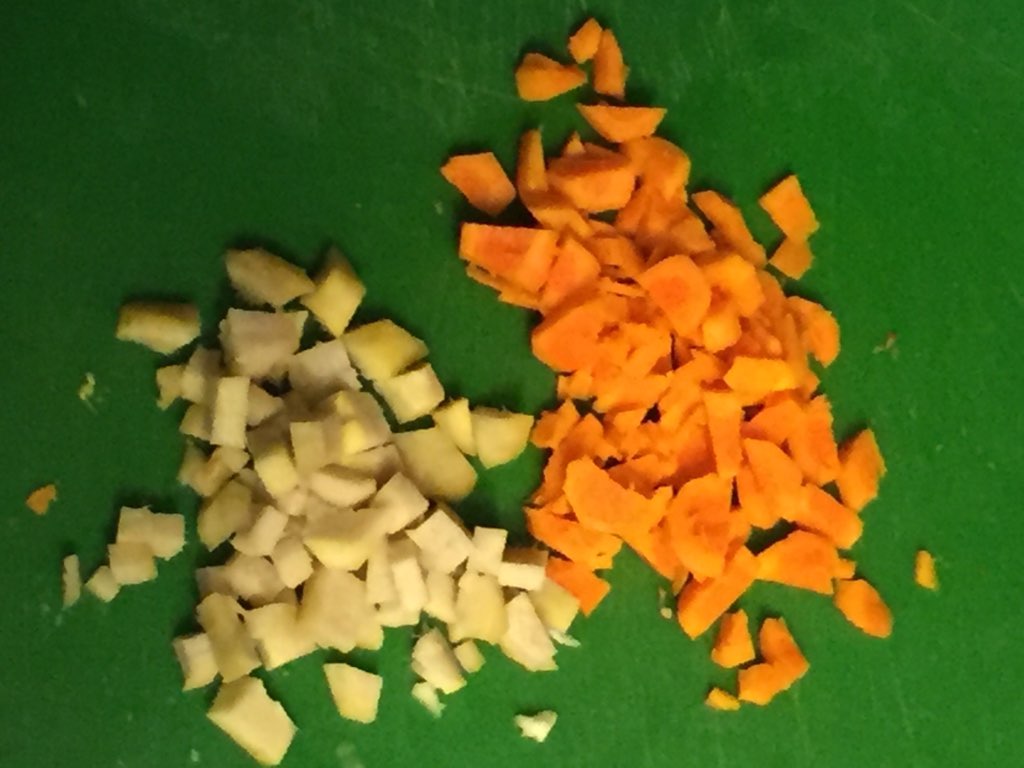
While the veggies are roasting, cut up the ginger and turmeric. If you prefer to have them minced of finely chopped, that will work. I enjoy the flavor of biting into fresh ginger, but it’s not for everyone. When the 15 minutes of baking are done, take out the vegetables. Add the ginger and Turmeric, and then drizzle with the Sesame oil. Swish around and continue to bake for another 15 minutes.
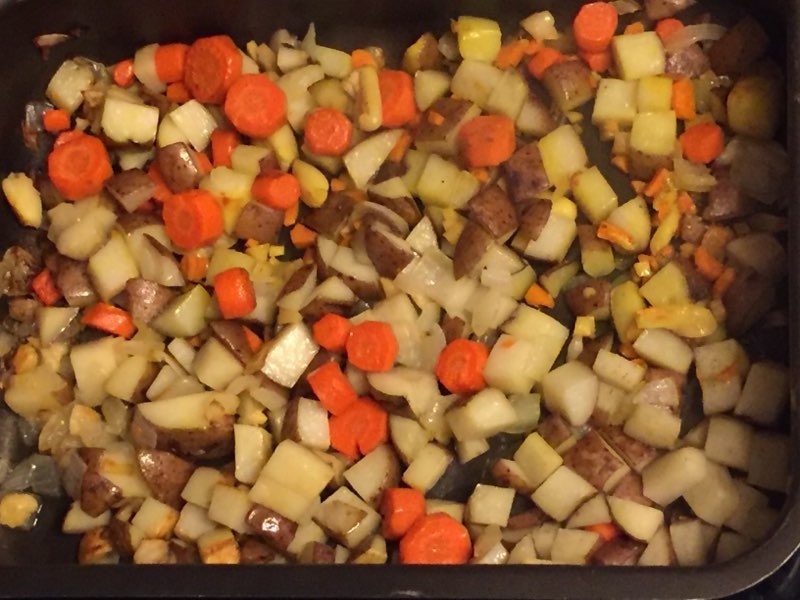
Once the vegetables are ready, you can remove them from the oven. Let them rest about 5 minutes. The carrots and potatoes should have a slight firmness on the outside and should be soft on the inside.
Place the roasted vegetables into a large pot. Take 1 cup of the broth and add it to the roasting pan. Using a spoon or spatula, try to scrape up any bits of flavor that may have been left on the roasting pan. Pour it into the pot, then add the rest of the broth and the water. If you are cooking with low sodium, you can add in the pinches of citric acid. Cook on medium heat until it comes to a slow boil. If you want a basic vegetable soup, it would be ready at this point. If you want to add things to it, then you can start adding them in. I added a couple of different things to this soup.
The first thing I added was a peanut butter sauce. In a small bowl, combine the peanut butter, vinegar (I used distilled white, but rice wine would also work), Teriyaki sauce and an optional hot sauce of your choice. Once these are all combined, they can be added to the soup.
I also had a package of udon noodles. Cut them into cubes, so the pieces will be much smaller when cooked. After the peanut sauce is incorporated, let the soup get back up to a slow boil, and then add the noodles.
Once the udon noodles are added to the soup, it should cook for another 5 minutes. The cubes should be broken apart by that point. The soup will still be thin, but the color will change after the peanut butter sauce is added.
Once the noodles have been incorporated, the soup is ready to be served. The flavors of this soup really go well. The peanut butter sauce provides a nice kick to the soup, and it also has a nice balance with the noodles. There are bites of ginger, turmeric, and garlic that add a punch of flavor and freshness to the soup. The roasting of the vegetables help to add a bit of a deeper flavor than if they were boiled, and the outsides of the carrots and potatoes have a nice textural bite to them.
This soup put me in a happy place, and I look forward to eating more as the weather continues to get colder. Enjoy!
I still had some leftover malanga, and I had it in my head to try and make a variation of pierogi that used mashed malanga instead of potatoes. There are three separate components that are part of this recipe: caramelized onions, mashed malanga, and the dough and pierogi. The caramelized onions and mashed malanga are good independent of this dish, but work well together for this. I am going to share how I put this together.
I will start with the caramelized onions, then move on to the malanga, and then move on to the pierogi. If timed well, the dough can be the first thing made, then the onions and mashed vegetable, and then the pierogi. There is a good flow when putting it together, but I’ll focus on the separate recipes.
CARAMELIZED ONIONS
1 medium size yellow onion, chopped
1 Tablespoon butter
1 Tablespoon olive oil
Pinch of salt (optional)
Pinch of sugar (optional)
1/4 cup of water (optional)
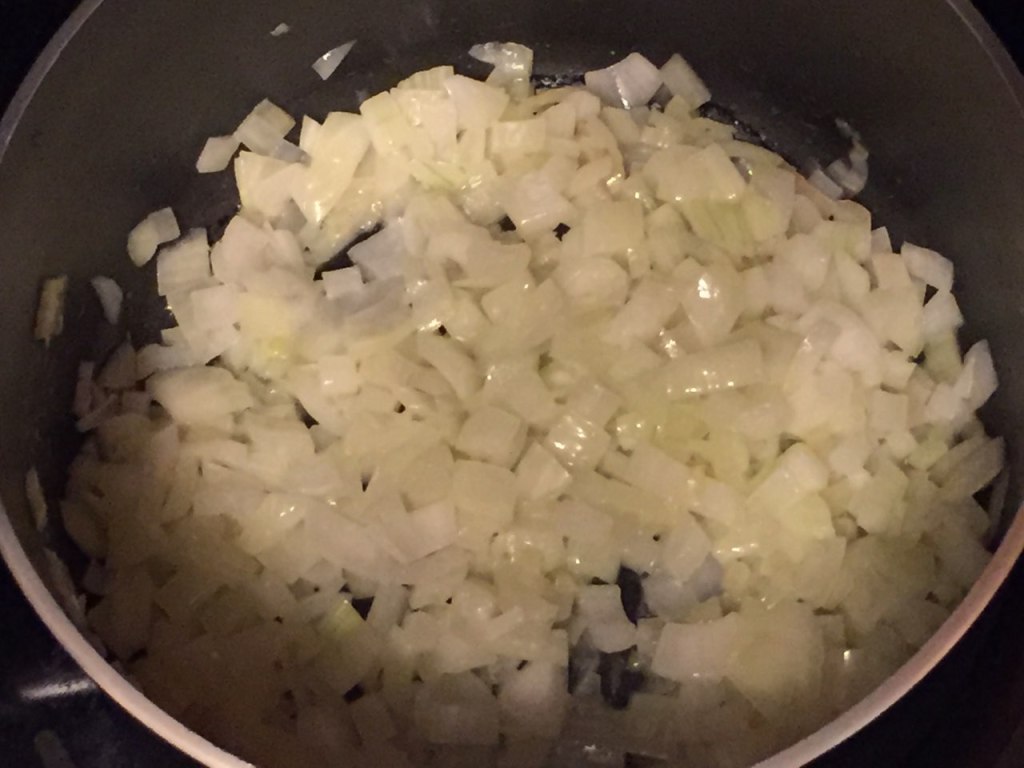
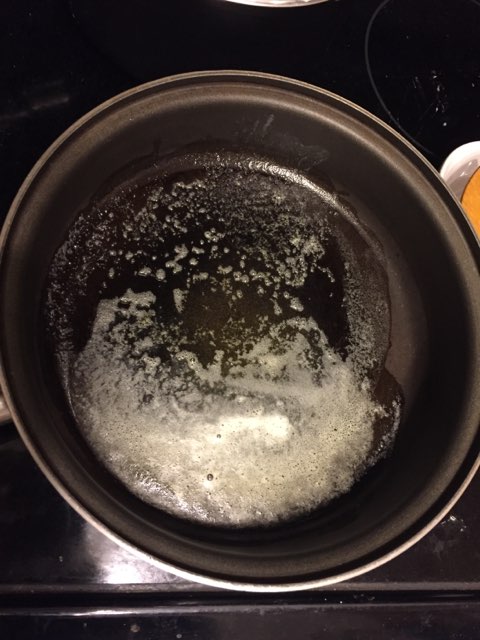
Place the butter and oil in a large saucepan over medium high heat. Once the butter has melted and the mixture has some foamy bubbling, add the chopped onion and turn the heat down to medium.
Make sure the onion is layered evenly on the bottom of the pan. Stir every 2-3 minutes. The entire process should take between 30-50 minutes.
When the onion starts to get a little brown, add the dash of salt if desired. Continue to stir every 2-3 minutes.
Once the onions have gotten a deeper brown, you can add 1/8 cup of water and a dash of sugar if desired and turn heat to medium low. Continue to stir every 2-3 minutes. The stirring should allow for enough time for the onion to brown without burning or sticking to the bottom of the pan.
Once the onions have some really nice caramelization going, add a little more water to prevent burning. After another 2-3 minutes, the onions should be done and ready to be removed from the stove.
MASHED MALANGA
1 1/2 pounds malanga, chopped
1/4 cup softened butter
1/4 – 1/2 cup milk
1 teaspoon garlic powder (optional)
1 teaspoon onion powder (optional)
1/8 teaspoon pepper (optional)
2 teaspoons paprika (optional)
1 cup shredded cheese (optional)
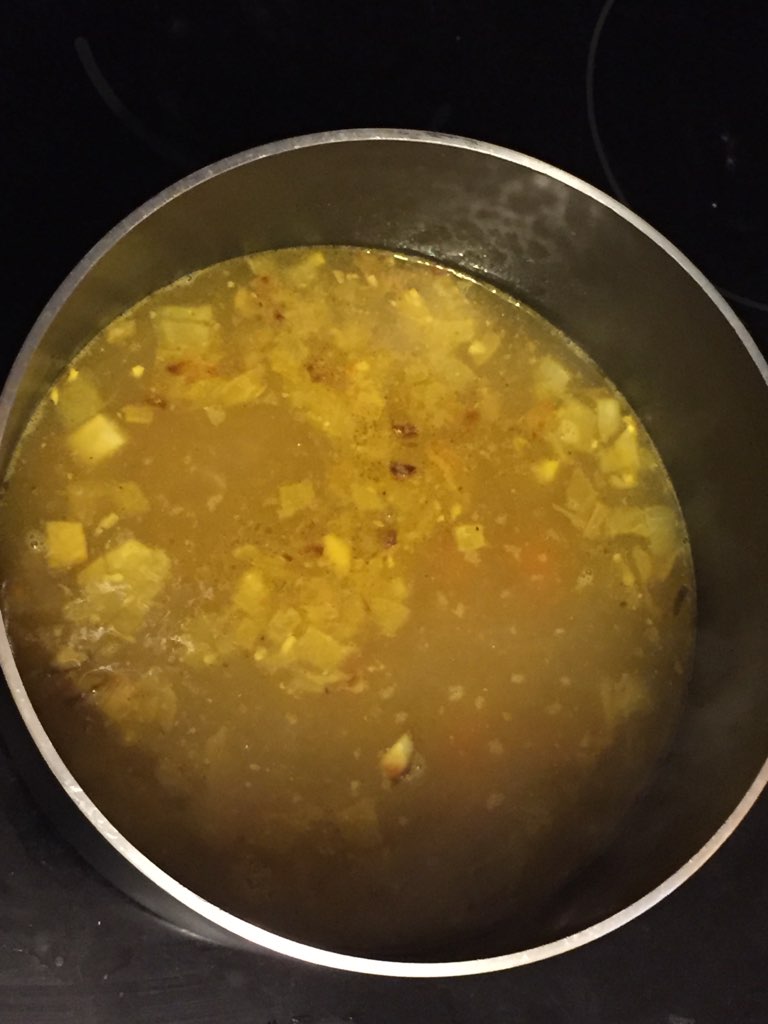
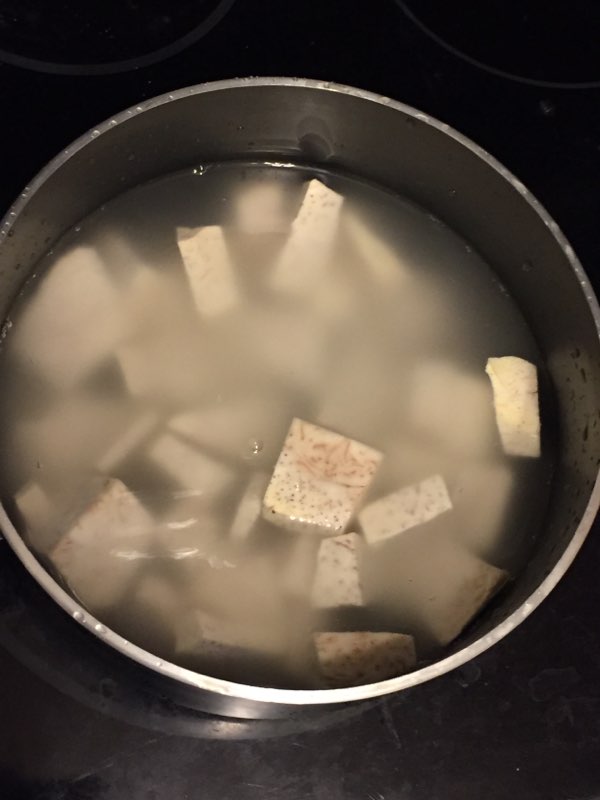
Malanga is a very hard root, so be very careful when cutting. Remove the outer skin and cut the malanga into pieces. Rinse well. Put into a pot and fill water so that it is about 1 inch above pieces. Bring to a boil and let it continue to boil for about 15 minutes. When the largest pieces of malanga fall off a fork with ease, the malanga should be ready (should be similar to boiling potatoes). Drain water and put malanga back in pan.
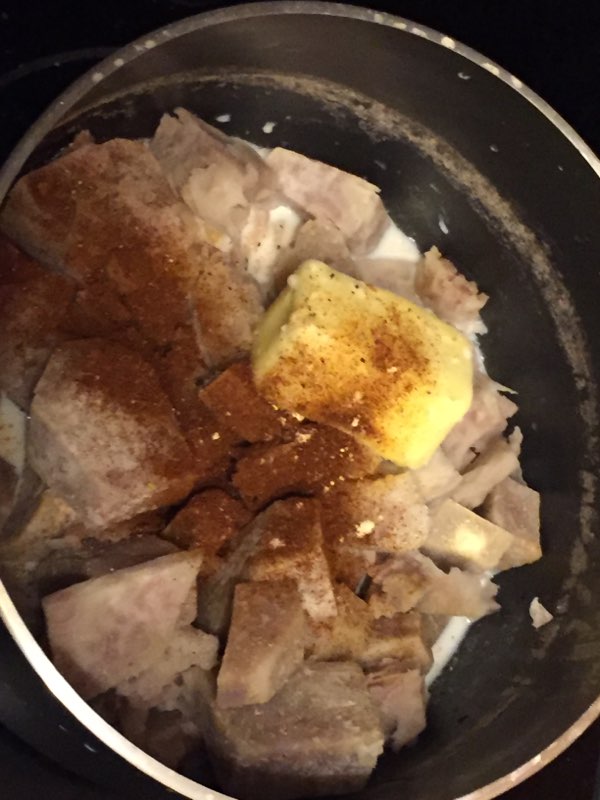
Add in butter, milk and any seasonings you would like and then mash until it gets to the consistency of mashed potatoes.
For the next step, I added in about 2/3 of the caramelized onions (leaving the rest for something else, possibly a patty melt). I let the mixture get to room temperature and then added in the cheese. I did not want the cheese to melt yet, but if you would prefer to have melted cheese, then you should do it. I preferred to have the cheese intact because I didn’t want to have to deal with the melty cheese when trying to scoop it into the dough (coming later). If you didn’t want to make pierogis, this would still be an outstanding dish as is. The caramelized onions really take this to another level. I heated some up later and my opinion is that it was absolutely delicious. If you are going to be making the pierogi, then this mixture should be at room temperature when the dough is ready.
PIEROGI DOUGH
2 cups flour
1/2 teaspoon salt
1 large egg
1/2 cup sour cream
1/4 cup softened butter
Mix together the flour and salt. Add the egg and mix together. It will be mostly flour, with a few lumps. Add in the sour cream and softened butter. I started this with a fork, to make sure the butter gets properly incorporated. Once the butter was broken down and blended in, I used my hands. Work the dough with your hands until it is able to hold together in a ball. If the dough is too sticky, add a little flour. If it’s too dry, add a little sour cream.
Once the dough is able to be formed into a ball, cover it in plastic wrap and place in the refrigerator. This should be refrigerated for no less than 30 minutes, but can be kept for up to 2 days.
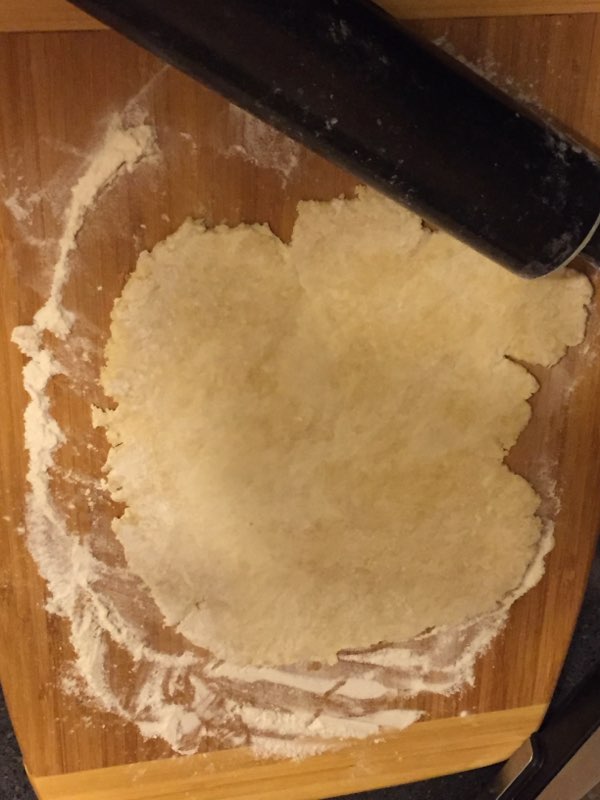
Once you are ready to make the pierogis, remove the dough from the refrigerator and roll out 1/2 of the dough until it’s a little more than 1/8 inch thick.
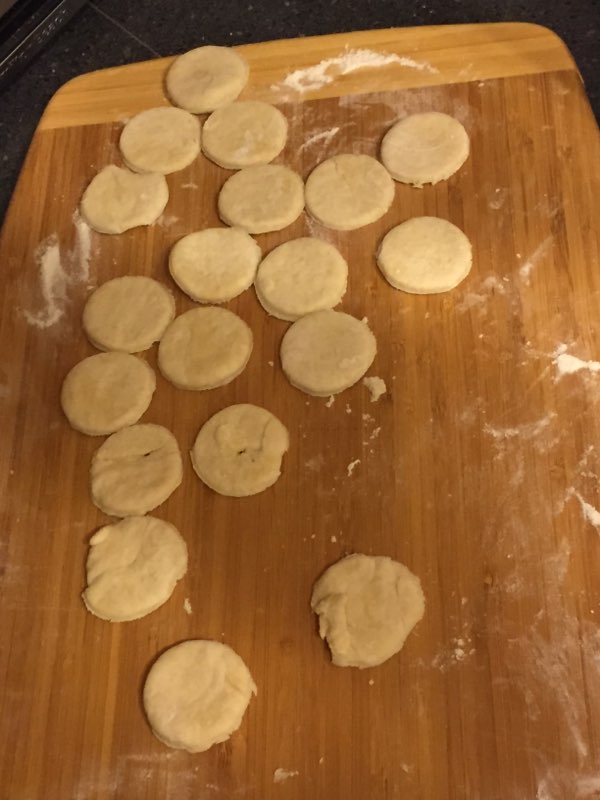
If you want, you can roll the dough to be 1/8 inch thick and then use a two inch round cutter. I rolled the dough until it was slightly thicker than 1/8 inch, and then used a shot glass to cut the dough.
I then took each shell and rolled them a little more to get them flat.
Next, add about 1/2 teaspoon of the mashed malanga mixture into the center of the shell.
Fold the shell over and pinch the edges together.
Use a fork to seal it again. If a little bit of the filling sticks out, that’s okay.
Once you have the first half of dough complete, you can start working on the second half. This should yield 3 – 4 dozen pierogi.
Boil a large pot of water and add in salt. Place the pierogi in the boiling water. Make sure there is enough space that they don’t overlap (otherwise, they might stick together).
These should take 5-10 minutes to cook. They will float to the top when they are ready. I took them out as soon as they started to do a little dance.
They are now ready to enjoy. I had sour cream as a side for my first batch and butter for my second. The flavor is really good, so I prefer that it is not masked with anything overpowering, but that is my personal choice. The flavors all came together really well in this batch. It tasted a lot better than what I was expecting, so it was a nice surprise.
If you don’t want to cook the pierogi all at once, you can refrigerate the uncooked pierogi for another day, or you can freeze for a few weeks and then take out and boil when desired. If you didn’t use all the dough, you can always set it aside for another day and make something else (maybe cut them up and cook them in a nice broth based soup during the cold Fall and Winter months).
These can be filled with different things. I chose my ingredients because they fit the flavor profile I was craving. Some might prefer sauerkraut. Some might want the onions to be used as a topping instead of as part of the filling. There are many options out there. Just choose what works best for you.
I hope you enjoyed this recipe. Any feedback or thoughts are happily appreciated.
Other than how it started, today has been a great day. It started with me waking up a little after 3AM after having a dream about being chased by a swarm of bees. Not fun, but probably happened due to a humming after the heater turned off (or was about to turn on again). I had to get up early anyway, since I was taking my car in for a regular check-up at 7:30AM. I had to leave a little earlier than I normally would have, since it was 30 degrees outside and the car was frosted over. Fortunately, I was able to make it for my appointment and then go for breakfast and a little walk, expecting the appointment to take about 1 1/2 hours. The car place and the diner are both in Catonsville, the first of today’s three C’s.
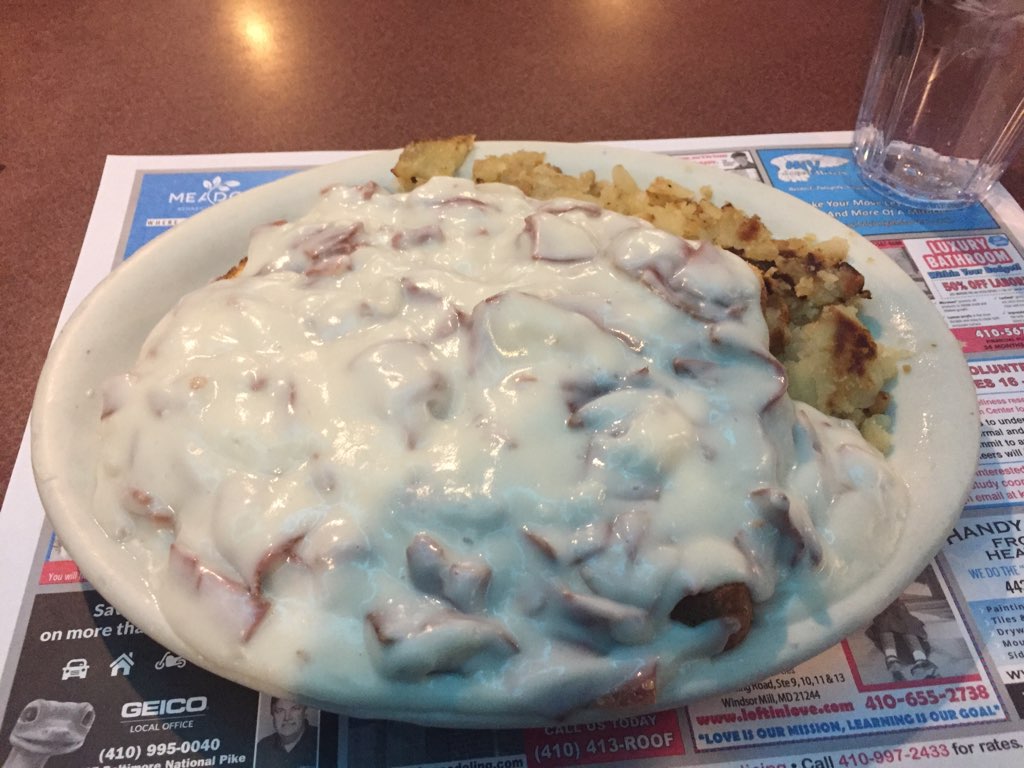
Creamed Chipped Beef on Toast with Home Fries
I walked down to Double T Diner. I normally do this every other car appointment. My usual is the Creamed Chipped Beef on Toast with Home Fries. The portions are huge and it did not disappoint. The sauce is very thick and creamy, with good flavor. There is A LOT of chipped beef in this, so they are definitely not just giving you sauce with a couple of pieces. The bread itself had very good flavor, and the home fries were also cooked well. This is a very salty dish, so you shouldn’t be eating something like this if you have restrictions. But on a 30 degree morning, this hit the spot.
After I finished eating, I was planning on walking for another 45 minutes 10 an hour, but I got a call soon after that my car was ready. It only took 30 minutes instead of the expected 1 1/2 hours, which was quite a pleasant surprise. I picked up my car and decided to head over to Columbia.
I started by going to Wegman’s for a coffee drink. I know that is a lot more calories, but I needed something sweet after the hearty breakfast. They had a specialty flavor – Spiced White Chocolate. This had a smoky bourbon syrup, so I tried it. It was really good. The texture and consistency is always good at Wegman’s. I just like trying their specialty drinks when they have them. This did have a sweet flavor, but there were sips where you could get the smoky bourbon flavor in there (not real bourbon, just the flavor). This is a flavor I would try again.
I made a quick stop over at Hobby Lobby, and had fun walking through the store and seeing all the Christmas related decorations and crafts that were available. I didn’t buy anything, but saw a couple of things I might go back to get. I then made a quick stop at Whole Foods (I saw a former co-worker, which was cool), followed up by the Mall in Columbia. It didn’t open until 10AM, which is why I made the extra stops. It gave me time to walk off some of those calories I had, so it was worth it.
While at the mall, I decided to stop at Wockenfuss. I got myself a truffle, but also had a nice haul with these items. The Carmallows are usually there, but the Mint Filled Straws and the Peanut Butter Filled Pillows are seasonal. I wanted to get them while I could, since they might sell out quickly. This made for a successful trip at the mall.
I was then on my way to the third of the three C’s, Clarksville. I wanted to stop by the Common Kitchen again to try a new place.
I did happen to see a murder there. A murder of crows, to be exact. I know this is not a great picture. I couldn’t get a real close up with my cell phone, but there were a couple of other trees that had more crows, as well as another 20-30 flying around. They were constantly moving, with some flying around and some going from tree to tree. Higher above, there were some vultures circling. So there was something they were there for, but I just couldn’t see what it was. It was still fun to see.
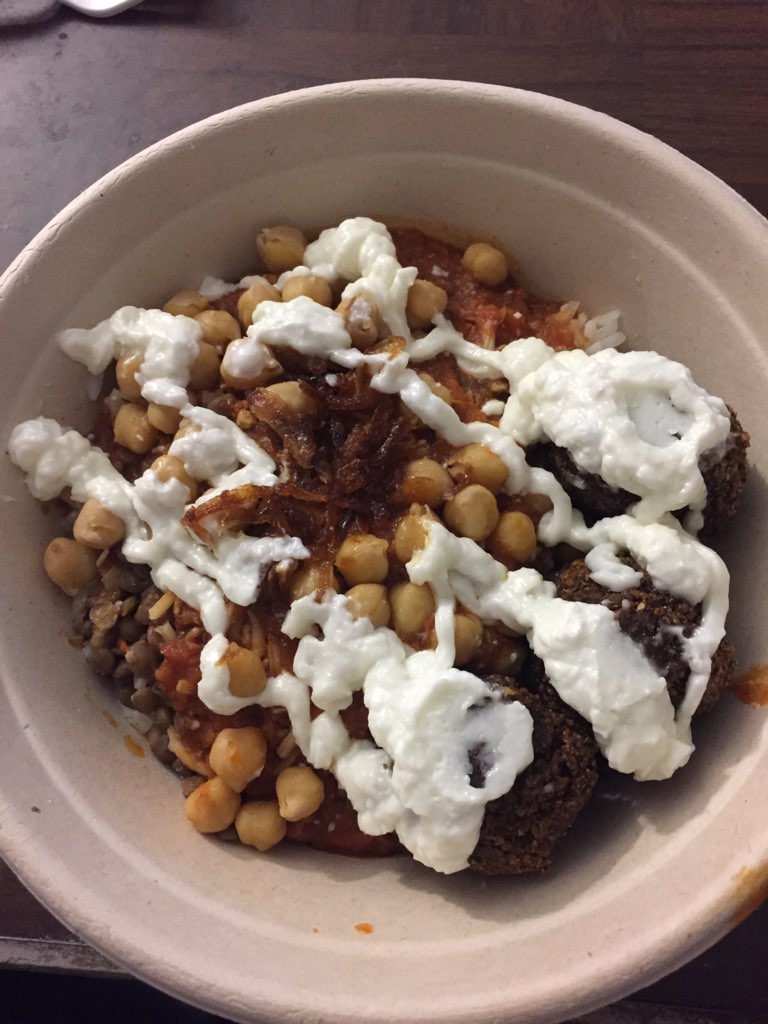
As far as food goes, I decided to try Koshary by Misteka. It is an Egyptian Street Food spot in the Common Kitchen Marketplace. I wanted to get their signature Koshary bowl, with falafel.
I started with white rice on the bottom (this was recommended to me as the standard for this dish). It is then topped with lentils and gluten free pasta, followed by chick peas, fried onions, dukkah, and a signature sauce (I went with a garlic sauce). I also had vinegar and the falafel on mine. I am glad that I did not go with the large bowl, because there was a lot of food in this. I took this home, and the smells emanating from the container were amazing. I wanted to stop the car and start eating. I was able to control myself and wait until I got home, though. As good as the aroma was, the taste was even better. The combination of flavors and seasonings that all came together were fantastic. I am not always the biggest fan of falafel, but there are some that I think taste good. This is one that tastes really good. Nice flavor, nice crispness. I would recommend trying this if you are in the area.
Starting off with a good meal, and finishing with a good meal for lunch made this a great day. I ate so much that I won’t need to eat any dinner, but I’m okay with that. I’ve still got some leftover truffle brownies, so I’ll just have dessert be my dinner.
I am happy to have the cold weather, especially since there is a little snowflake icon for this coming Friday on my weather app. It might mean I have to put the jean shorts in hibernation, but they’ll be back soon. It did get into the low 50s by the afternoon, so I could have worn them, but the 30 degree weather in the morning made me wisely say no. Not all days are great. Not all meals are great. But when I have a day that goes even better than planned, and I eat food and have coffee drinks that were better than expected, it’s a good way to keep me in a positive frame of mind.
I have a tendency to eat a lot of meat and to not always eat healthy. There are times, though, when I want to switch things up. I’ve made a variation of this dish in the past, but I was really happy with the results for tonight’s dinner. This is a vegetarian, low-sodium dish. I eyeballed some of the spices, but will put down my best guess estimates for the portions that I used.
Ingredients – Rough estimates
1 pound carrots
1/2 pound onion
2 pounds potatoes
1 5 ounce bag baby spinach
1 Tablespoon Olive Oil
1 Tablespoon butter
1 teaspoon chopped ginger
1/2 teaspoon garlic powder
1/2 teaspoon turmeric
1/2 teaspoon ground coriander
1/4 teaspoon pepper
1/4 teaspoon caraway seeds
1/8 teaspoon of citric acid.
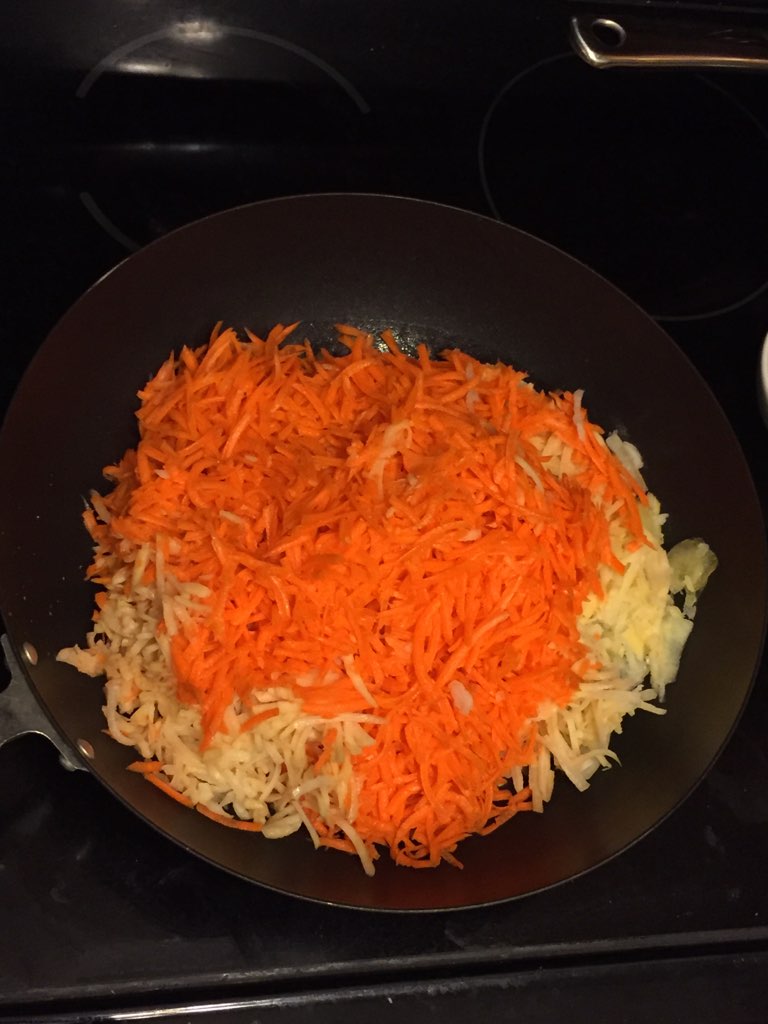
I used the grater attachment for my Cuisinart and grated 4 large carrots, 1 yellow onion, and 2 large potatoes.
I heated one tablespoon olive oil and 1 tablespoon butter in a wok. Once the butter was completely melted, I added the grated vegetables.
I continuously stirred the vegetables for about 10 minutes. The carrots and potatoes were still a little firm, but they were definitely getting closer to the proper texture.
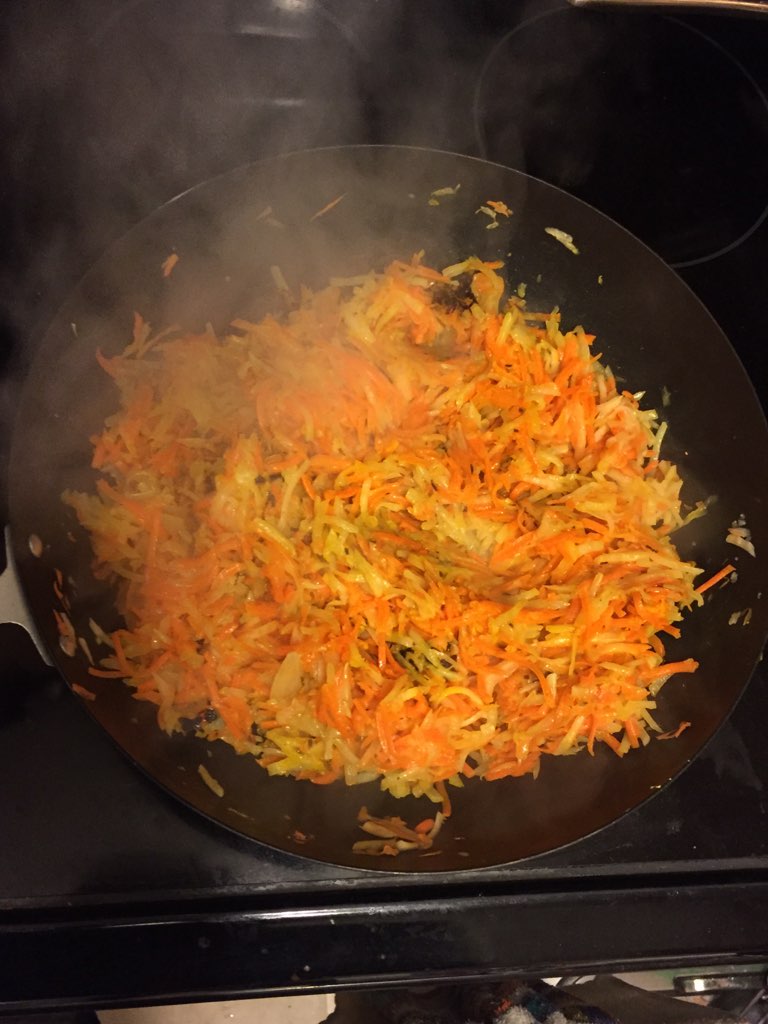
I then added 1 teaspoon of chopped ginger (from a jar), 1/2 teaspoon garlic powder, 1/2 teaspoon turmeric, 1/2 teaspoon ground coriander, 1/4 teaspoon pepper, 1/4 teaspoon caraway seeds and 1/8 teaspoon of citric acid. I continued to stir for about 2 minutes, until there was a consistent release of steam.
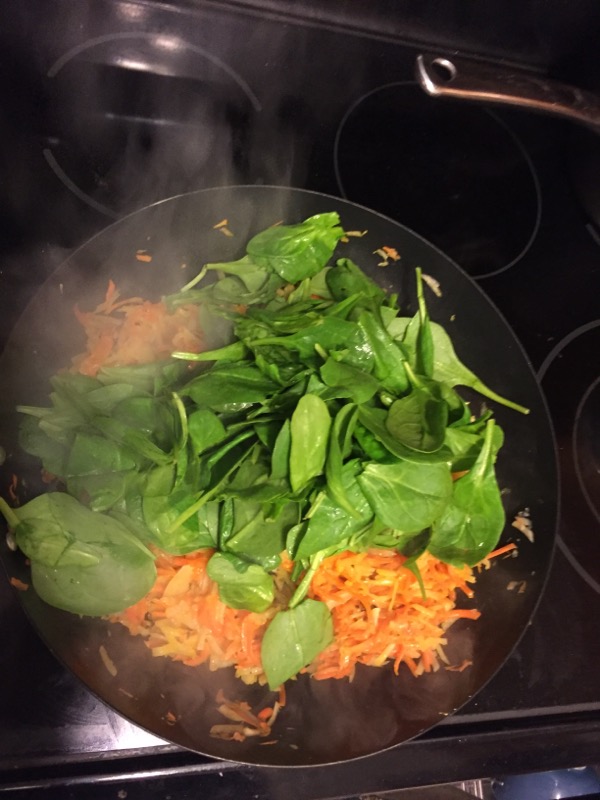
I then added one bag of baby spinach (I rinsed the spinach first, and shook out all of the water) and continued stirring for another 3 minutes.
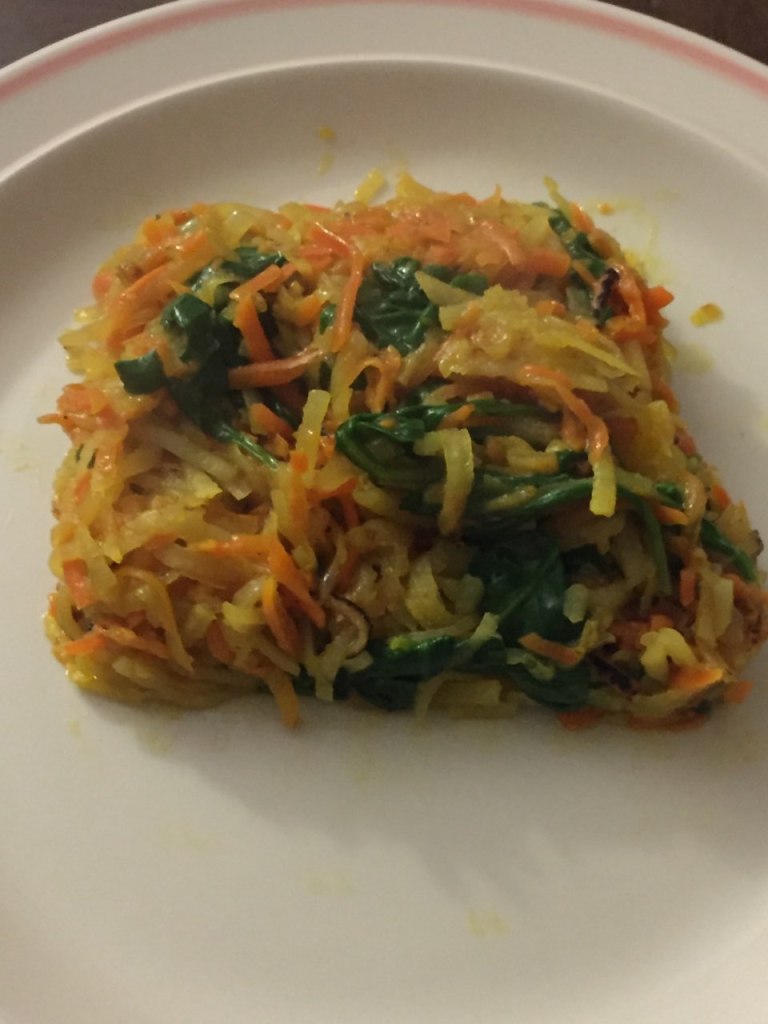
Once the spinach leaves lost their stiffness, I removed from the heat. The spinach would continue to cook, but would not get overcooked and mushy.
It was ready to plate and eat. You can add seasonings or sauce if you want, or just have it like this. I had this as my main dish (I ended up having a second portion as well). This would work as a side dish. I’ve made this with grated broccoli stalks instead of spinach in the past, but would caution you to use just a little broccoli stalk (and shave off the outside first). They can take longer to cook, but do provide additional fiber.
I used citric acid instead of salt, but that was just my preference to make this a lower sodium dish. I like to use ground turmeric from time to time. There are many health benefits, and it adds flavors that my taste buds enjoy. Ground coriander also brings some additional health benefits. Caraway seeds were something new for me to use. They are good for digestive health, and the seeds add a nice textural element to the dish. If you want to use fresh ginger, garlic and turmeric, I say go for it. I would just recommend adding them after the vegetables have cooked for about 10 minutes and not blending them in with the vegetables at the beginning, since you don’t want to overcook the ginger, garlic and/or turmeric, and possibly lose of the potency of the flavor or health benefits.
Whatever you decide to do, I hope you have fun with this healthy, flavorful, and colorful meal.